Hanging Geranium Pelargoniums: Grow, Care, and Geranium Hanging Baskets Ideas
If the sight of hanging geraniums makes you think of summer, get ready to explore the beautiful world of hanging geranium pelargoniums. These vibrant floral beauties are perfect for transforming any space into a Mediterranean paradise.
For a display of drama and cascading floral charm, we’re here to guide you through every step of the journey, from nurturing your geranium pelargoniums to creating stunning hanging basket displays that’ll take center stage in your summer garden.
Geranium Pelargoniums vs Hanging Geranium Pelargoniums: Where is The Difference?
The primary difference lies in their growth habits. Standard geraniums (Pelargonium spp.) grow upright and form dense, bushy plants, which makes them suitable for growing in pots, containers, and flower borders.
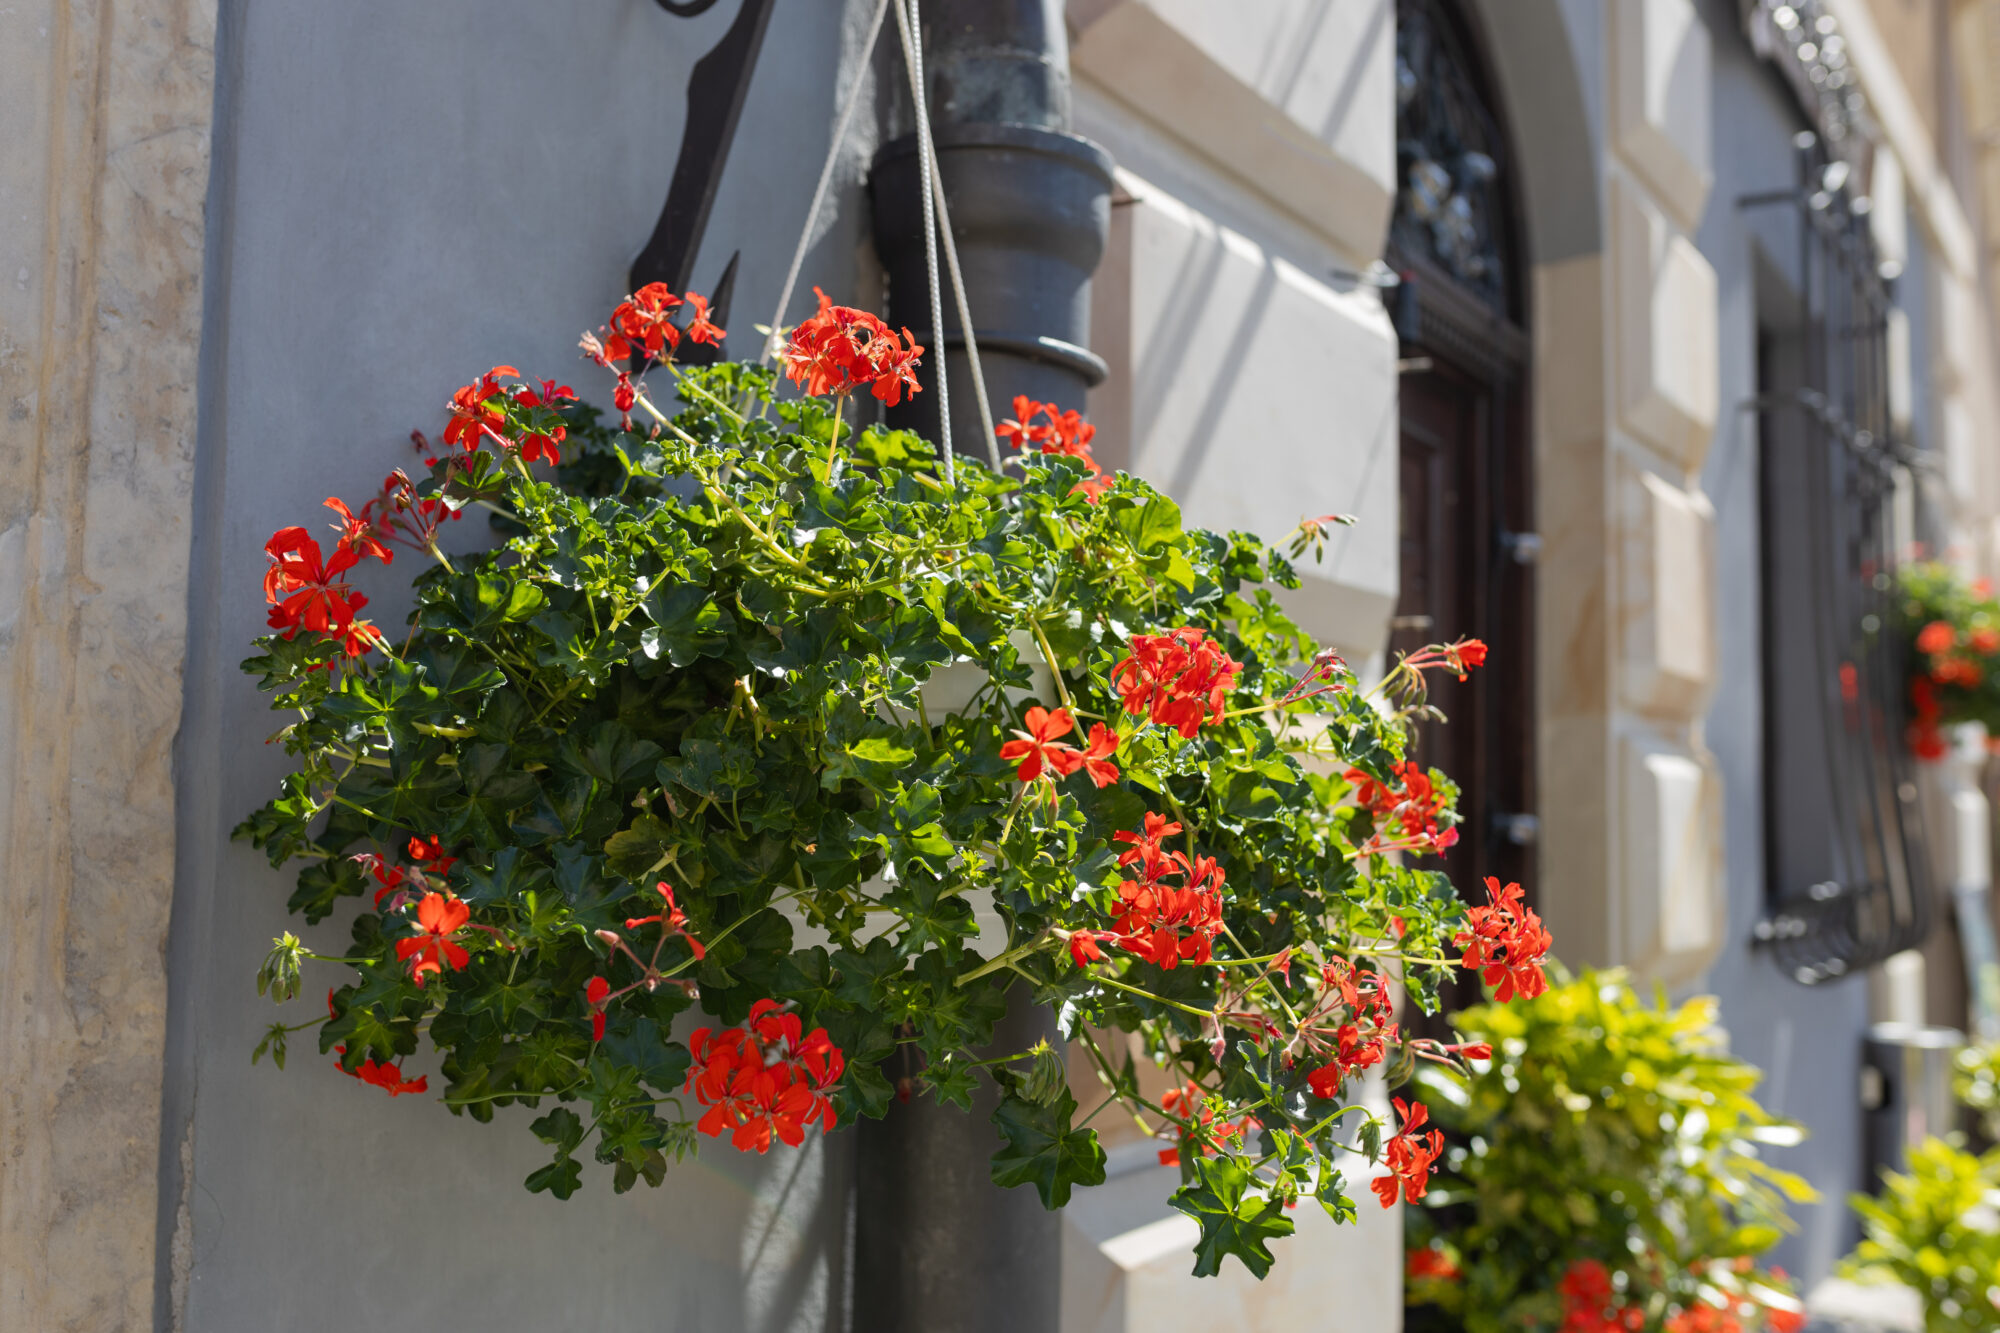
Hanging geraniums (pelargoniums peltatum), on the other hand, have a natural sprawling habit. This makes them ideal for trailing down from hanging baskets, whereby they can produce flowering stems up to 4ft (1.5 m) or more.
Both types will flower from June until the first frost. They also require similar care regarding sun exposure and watering needs. However, hanging geranium pelargoniums may need more frequent watering due to their elevated position being more exposed to the sun and air.
If your geranium is dying, it’s time to take serious steps to revive them.
Which Geranium Pelargoniums Can You Plant In Hanging Baskets?
Among the pelargonium varieties that provide vibrant color and lush foliage, there are a few excellent choices for planting in hanging baskets.
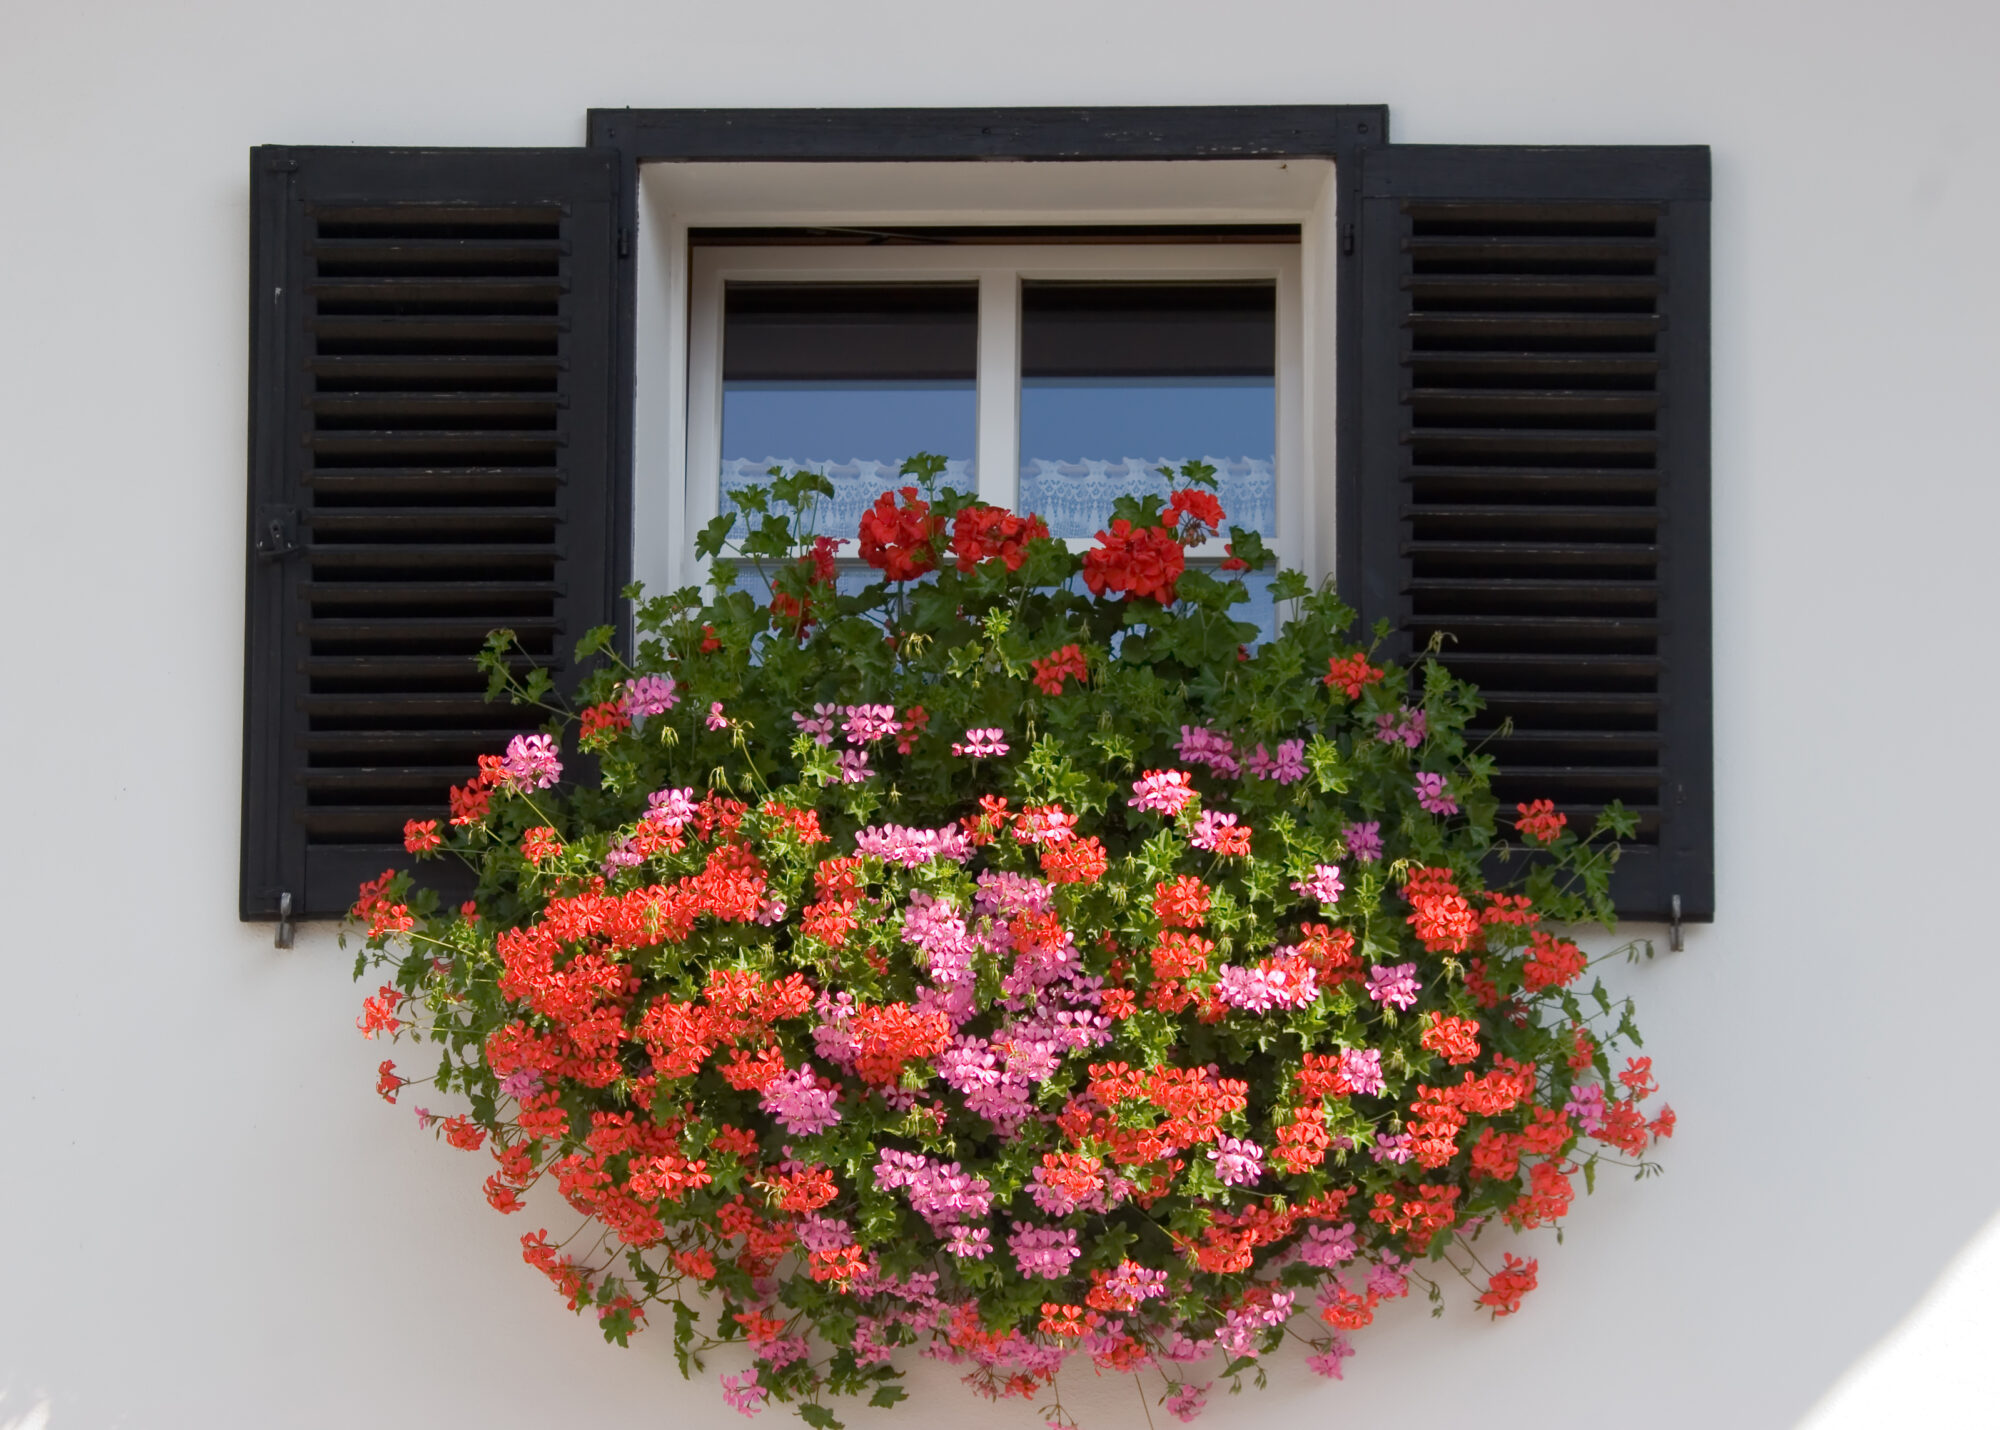
Ivy Geraniums Pelargonium (peltatum)

Features: Ivy geraniums are the first choice for hanging baskets. Their trailing stems and glossy, ivy-like leaves make them ideal for cascading over the sides of baskets. They will provide a constant bloom of single or double flowers in shades of pink, red, white, and purple from early summer until the first frost.
Care: They require full sun to partial shade and should be watered when the soil is dry from the base of the plant to a depth of 2 inches. These pelargoniums are self-cleaning, which means the spent blooms will naturally drop off when the flowers are spent. This makes for a low-maintenance plant.
Angel Pelargoniums (Pelargonium domesticum)
Features: These gorgeous, highly sought-after geranium pelargoniums are a personal favorite. Although naturally more compact in growth, they will happily cascade over the edges of containers and hanging baskets. They have smaller, scented leaves and will produce bi-colored flowers outdoors from June until the first frost. In addition, they make wonderful indoor houseplants that can flower throughout the year.
Care: They are easy to grow and, like all pelargoniums, prefer well-draining, nutrient-rich soil and a sunny location. However, these plants need adequate air circulation and will die back if over planted. Therefore, we recommend reducing the number of plants in your hanging basket by a third. In addition, regularly remove spent flowers, yellowing leaves and any straggly growth. This will also aid with improved air circulation.
Scented Geranium Pelargoniums (Pelargonium domesticum)
Features: These pelargoniums are not truly a trailing variety. They are valued more for their highly fragrant leaves, which come in various scents, including rose, lemon, and mint. However, some have sprawling tendencies and can be encouraged to trail over the sides of your hanging basket.
Care: They need full sun to part shade and require well-draining soil. Regular pruning will encourage more flowers. The blooms, however, are more modest and not as exotic as the zonal and peltatum varieties. Pruning will also promote more growth of scented leaves.
Zonal Geraniums Pelargonium (x hortorum)
Features: While primarily upright, some zonal geraniums can be trained or pruned to have a more cascading growth suitable for the edges of baskets. They feature bold, round flower heads and often have zone-marked leaves. Grown in hanging baskets, they will add height, creating more drama for the cascading effect of the ivy leaf trailing varieties.
Care: They thrive in full sun and require regular watering and fertilization. They also need to be deadheaded regularly to promote continuous blooming.
Tips For Planting Hanging Baskets With Pelargonium Geraniums
Planting geranium pelargoniums in hanging baskets will transform your outdoor spaces with vibrant colors and delightful scents. Here are some tips to ensure your hanging baskets flourish:
- Choose the Right Geranium Pelargonium Type: Opt for ivy geranium pelargoniums, as their natural cascading growth habit is perfect for hanging baskets. These varieties produce a profusion of flowers contrasting beautifully with their dark green ivy-shaped leaves. Planting them along with the other pelargonium varieties will add more interest. Their similar growing requirements will also make for easier maintenance.
- Select a Suitable Basket: Use a basket large enough to accommodate the root growth and provide enough space for the geraniums to spread out. A basket with a diameter of approximately 12 inches is recommended. Also, ensure the basket has good drainage holes to prevent waterlogging.
- Use Quality Potting Mix: Use quality potting soil. It will be a false economy to use cheap potting soil due to the volume in the basket and the hungry roots to feed. Fill your basket with a good-quality potting mix designed for container plants. This mix should be light and well-draining but able to retain enough moisture to keep the roots hydrated. Check for any mold in the potting soil bag. Also, mix in some perlite to aid drainage.
- Consider Basket Liners: If your basket is not solid, use a liner to help retain moisture. Coconut coir or ready-made cardboard liners, which I prefer, are popular choices. They also help provide a natural look and are quickly covered with growth. Avoid buying sphagnum moss, as it is unlikely to have come from a sustainable source. However, I have successfully used moss raked up from my lawn and used at a depth of 1 inch (2.5 cm) inside the basket.
Planting Technique
When planting, space your geraniums evenly around the basket to allow for even growth and coverage. A rough guide is to grow no more than five 3.5 inches (9 cm) plants for the top of a 12-14 inches (30-35 cm) basket or up to seven 3.5 inches (9 cm) plants for a 16-18 inch (40-45 cm) basket. Plant them at the same depth they were growing in their previous container.
Proper Watering: Geraniums in hanging baskets will need more frequent watering than geraniums in the ground. You might need to water daily. Touch the top of the soil, and if dry to a depth of one inch, your plants will be thirsty. Overwatering is less of a problem if there is adequate drainage. However, check that the drainage holes don’t get blocked as this could cause the roots to rot.
Tip: If planning a short vacation, place a couple of filled plastic water bottles punctured with a small hole on top of your basket to allow a slow drip of water. This will provide enough water for up to a week.
Planting Environment
Fertilization: Avoid using a water-soluble fertilize as a primary feed, as it will immediately drain away onto the ground. The best method of fertilization, apart from using good-quality potting soil, is to mix in slow-release granule fertilizer when planting up. One application at this initial stage should be adequate for one growing season. However, if you see signs that your plants need more during the season, simply apply more granules to the top of the soil and water in. If you are lucky enough to live in warmer climates and can leave your pelargoniums out all year, you will need to refresh the soil and add more fertilizer to meet growing demands.
Sunlight Exposure: Place your hanging baskets where they will receive around 6-8 hours of sunlight daily. Pelargoniums thrive in full sun but can tolerate partial shade; however, too much shade can reduce blooming.
Regular Deadheading: Ivy-leaved pelargoniums are self-cleaning, which means that the spent flowers naturally fall away. However, I recommend removing them just before they naturally shed, as this encourages more blooms. It’s also a good time to remove any discolored leaves to keep the plants looking tidy and to check for any signs of disease or pests.
Rotation: Every couple of weeks, you will find it necessary to rotate your hanging basket to ensure all sides of the pelargoniums receive equal light exposure. This will help promote balanced growth and flowering.
Monitoring for Pests and Diseases
Regularly inspect for common pests like aphids and diseases like leaf spots. Treat infestations early with appropriate organic or chemical treatments recommended for container plants.
How to Grow Ivy Geranium From Seed
Growing ivy geraniums from seed can be very successful, although it requires a bit more patience than starting with cuttings. You can also grow seeds collected from your own plants, but if they are hybrid varieties, they are not guaranteed to replicate the parent plant. However, it can be exciting to see the end results and nature could surprise you with something very special. Here’s a step-by-step guide to successfully grow ivy geraniums from seed.
Seed Selection
If you want certainty, it is best to buy high-quality seeds from a reputable supplier to ensure reasonable germination rates, plant health, and flower color. Ivy geranium pelargonium seeds are less widely available than other types of pelargoniums. Therefore, it is best to look in garden stores or online.
Seed Starting Indoors
Ivy geranium seeds should be started indoors about 12 to 16 weeks before the last expected frosts in your area. This will give the plants enough time to mature before being hardened off outdoors.
Prepare the Growing Medium
Top up your seed trays or pots with a sterile, well-draining seed starting mix. Also, check the containers have drainage holes to prevent waterlogging.
Planting the Seeds
Evenly sprinkle the seeds lightly onto the surface of the prepared soil. Layer the seeds with a thin cover of soil or vermiculite—about 1/8 inch thick. The seeds will need light to germinate, so ensure not to overcover them.
Moisture and Temperature
Water the seeds lightly using a spray bottle to keep the soil moist but not soggy. For germination, it is best to maintain the soil temperature around 70-75°F (21-24°C). You could use a heat mat to maintain this temperature and speed up the process; otherwise, with a little more patience, they will germinate.
Lighting
After planting, place the seed containers in a location that receives bright, indirect light or under a grow light. If using grow lights, they will need to be left on for about 14-16 hours daily to mimic daylight conditions usually found in springtime.
Watch for Germination
Ivy geranium seeds usually germinate within 7 to 14 days under the right conditions. At the first signs of growth, ensure they receive plenty of light to avoid leggy growth. Also, look for symptoms that might indicate your geranium is dying.
Transplanting Seedlings
When your seedlings have at least two sets of true leaves, carefully transplant them into 3 ½ inch (9cm) pots. Then, continue growing in a sunny spot but out of direct midday sun, until the roots have grown into the pots. After the last frost, expose the plants to outdoor conditions each day for a few hours to begin hardening off.
Feeding
Once the seedlings have established in their new pots, start feeding them with a half-strength, balanced liquid fertilizer every two weeks.
Planting Outdoors
After the risk of frost has passed and the plants have acclimatized to outdoor conditions, you can transplant them into their final locations.
Propagating Ivy Geranium Pelargoniums from Cuttings
Propagating from cuttings is relatively easy, and you will be guaranteed a true copy of the parent plant. In addition, you will be able to create many more plants at a far lower cost than purchasing from garden stores.
The following are some tried and trusted guidelines on how to take stem cuttings:
Select the Right Time
Though you can take cuttings at any time, I find the best time is in late spring or early summer when the plant has abundant growth hormones. This will ensure the cuttings are vigorous and have a higher chance of successful rooting.
Choose Healthy Stems
Only choose healthy, non-flowering stems for cuttings. They should be free of pests and diseases and have firm yet flexible stems.
Cutting Preparation
- Tools: To take cuttings, use clean, sharp scissors or small pruning shears that have been dipped in alcohol to sterilize. This will help to eliminate infection and damage to both the parent plant and the cuttings.
- Cutting Length: Cut a 4-6 inch (10-15 cm) piece from the tip of a stem, just below a leaf node, where leaves emerge from the stem.
- Leaf Removal: Remove leaves from the lower half of the cutting, leaving only a few leaves at the top. This will reduce the energy needed to support excess leaf growth while allowing enough to encourage the stem to produce roots to regenerate.
Rooting Hormone (Optional)
Dip the cut end of the stem in rooting hormone powder or gel. This step is not necessary but it can help speed root growth and increase the success rate of your cuttings.
Plant the Cuttings
- Soil: Fill a pot with a sterile, specifically mixed, well-draining potting mix, or horticulture sand.
- Planting: Insert the cut end of the stem about 1-2 inches (2.5-5 cm) into the soil or sand. Firm the soil/sand around the stem to hold it upright.
- Watering: Water lightly to settle the soil/sand around the cutting. Then, keep consistently moist but not soggy.
Create a Humid Environment
Use a plastic bag as a cover over the pot or place it inside a propagator to maintain high humidity and a stable temperature. Take care that nothing touches the leaves, as this could cause mold to develop. Keep the cuttings somewhere where they will receive bright light. A window sill is ideal so long as there’s protection from direct sunlight.
Care During Rooting
- Ventilation: Remove the cover each day to allow fresh air to circulate. This will help to prevent mold growth.
- Watering: Keep the soil moist, but avoid overwatering, as this can cause the cutting to rot.
Location: Avoid direct sunlight, which can overheat and stress the cuttings. Also, choose somewhere to hand as it will be easier to check their needs are being met at this crucial stage.
Check for Roots
Roots typically begin to form within 4-6 weeks. Gently tug on the cutting, and if you feel a slight resistance, this is a good indication that it has successfully rooted. Any cuttings that haven’t rooted within six weeks are best discarded. This is because they are not likely to develop and could be harbouring diseases.
Transplanting
Once the cuttings have established a good root system, they are ready to be transplanted into 3 ½ inch (9 cm) pots using good-quality potting soil. When there’s no danger of frost, they will need to acclimatize to being outdoors. Place the cuttings outside daily for a few hours, but avoid times of strong direct sunlight and heavy downpours of rain. After a week, and providing there is no risk of a late frost, they are ready to be planted into your hanging baskets.
Ongoing Care
After transplanting, continue to water the new plants as needed. Remember to mix a slow-release granule fertilizer with your potting soil at the same time you plant your hanging baskets. This will provide enough nutrients for one growing season, in addition to using good-quality potting soil. Liquid fertilizers are not particularly useful in hanging baskets, as they simply drain away when watered.
Pruning Of Hanging Geranium Pelargoniums
Regular pruning of your hanging geraniums pelargonium is vital for maintaining their health promoting vigorous growth, and it will encourage a continuous display of blooms. It is also an ideal opportunity to check for yellowing leaves that could indicate poor watering or pests and diseases.
The best times to prune hanging geranium pelargoniums are in early spring before new growth starts. Then, throughout the growing season, remove spent flowers and weak stems as needed. Pruning established plants in spring helps to rejuvenate them and encourages bushier growth, which results in more flowers.
It is essential to ensure a clean cut by using sharp pruning shears or scissors. To avoid the risk of spreading disease, sterilize them beforehand with rubbing alcohol or a bleach solution.
As you prune, consider the shape of the plants and how to maintain a balanced look. Remove branches that are out of proportion or growing awkwardly. Not only does this improve the appearance of your pelargoniums, but it also ensures that sunlight and air can circulate more effectively, reducing the risk of diseases.
After pruning, check the soil has adequate moisture and water if necessary. This is also a good time to rotate the hanging basket to ensure all the plants receive equal sunlight.
Overwintering Hanging Geraniums: Ensuring a Vibrant Spring Return
Geranium pelargoniums will not survive frost or prolonged cold temperatures. But there are a few methods to protect your plants so they can be enjoyed the following year. Before preparing your plants, consider taking stem cuttings in case the parent plant does not survive. You can use the prunings for this purpose.
Start by pruning the plant back by half, cutting just above a leaf node. This will help the plant conserve energy. Remove all leaves to reduce the risk of disease and pest infection.
Overwintering Methods
- Indoor Overwintering: Ensure all geranium pelargoniums to be over wintered are potted up. Water well, then locate them to where they will receive good light with a minimum temperature of +5c. Water sparingly keeping the soil slightly moist throughout the cooler months. Inspect from time to time to check for diseases and pests. There will be slow growth during these cooler months. By spring or warmer months, you should start to notice more growth. At this stage give it its first feed with a general fertilizer and increase watering as necessary.
- Dormant Storage: Detach geraniums from their planting positions, remove excess soil, and remove any weak growth or yellow leaves. You can either hang them in a dry location like a basement, store them in a cardboard box, or wrap them in newspaper and leave them on a shelf. It is essential that the roots do not get damp. However, they will need to be soaked in water for 1-2 hours every month. After soaking, allow them to dry before storing again.
If kept as active indoor plants, ensure they receive sufficient light and a constant temperature of around 65-70°F (18-21°C) during the day. Avoid fertilizing until strong growth resumes in spring.
When the risk of frost has passed, start to reintroduce your geranium pelargoniums to outdoor conditions. Start by placing them a few hours daily in a shaded area to prevent sunburn, then increase their outdoor exposure over a week or two.
Once acclimated, return them to their usual spots and resume regular watering and feeding to promote new growth.
Final Words
We hope you have found this guide to the wonderful world of hanging geraniums pelargonium both useful and inspirational. With such a wide variety of colors and scented leaves to choose from, you can easily get hooked on creating cascading floral masterpieces.