How To Make Garden Arch With PVC Pipes in 8 Steps
Garden arches are used for various purposes, offering a stable foundation for vining plants or beautifying your garden entry, so it’s a plus if you know how to make a garden arch with PVC pipes. The arch’s beauty is that you can adjust the height and width for climbing vines or holding the roses.
You can use rod iron or steel rods to make an arch, but it will be costly. However, the iron rod arch is durable enough to stay long, even when facing strong winds.
You don’t need to spend much money to make a garden arch. The PVC cement arch is cost-effective and a suitable alternative to any other material.
You can make the arch inside your garden without any specialized knowledge or experience with some essential tools.
Construction of Garden Arch Using PVC Pipes
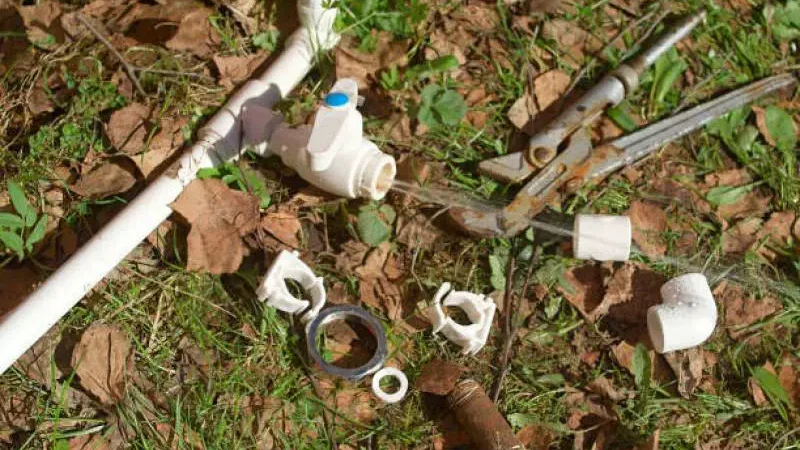
PVC pipes are widely available and inexpensive materials with flexible nature that can easily bend to form the desired shape.
Construction of a garden arch with them is straightforward.
You will also need the following:
- Cement to strengthen the pipes in the ground.
- Tape measure to correctly measure the pipes.
- Trowel for digging the ground to hold pipes.
- PVC joints to connect the pipes as per our arch shape.
To construct your garden arch with PVC pipes all by yourself, take notes of the step-by-step instructions:
1. Locate the Place for an Arch
First of all, mark the location where you plan to place the arch. If you plan for an entry arch, it can be in front of your garden entry. Decide the arch’s width; the ideal is five to six feet for the entrance arch. For vine support, width depends upon the size of the plant.
2. Prepare the Base for the Arch
Mark a two-point distance at six feet per your desired arch width. It would help to have a trowel to dig the ground for a hole to use as the arch’s foundation. Dig a hole of 2-inch diameter and six-inch-deep with a trowel. Now dig another hole of the same size six feet apart from the first hole in the direction where you want your arch end. Then, remove the mud and clean the dig holes.
3. Embed PVC Pipe and Rebar
Take the PVC pipe of 1-inch diameter and cut it into two pieces one foot long. Embed one-foot pieces of 1-inch PVC pipe into the first hole. Make sure to Embed this piece up to six inches and leave it six inches above the ground.
4. Strengthen the Embedded PVC and Rebar
Fill the pipe surrounding with the mud that you removed from the hole. Ensure the mud packs the soil for a firm grip on the embedded pipe. Take rebar of 0.25-inch diameter and cut it with a hacksaw into two pieces of 18 inches each.
Drive one rebar piece 18 inches into the embedded PVC pipe. Now keeping the rebar vertical, hammer it to fix it into the ground up to six inches. Its upper side will be level with the embedded PVC pipe when it goes deep six inches.
You notice a small gap between the rebar and the embedded PVC pipe. Fill this gap with extracted mud firmly so that rebar and embedded PVC pipe become one unit.
5. Attach the Jointer
Take a one-inch hose clamp and lose it with a screwdriver to make space for PVC pipe. Drive it through this embedded PVC pipe. Take a one-inch PVC jointer, and place it at the end of the embedded PVC pipe.
Drive the hose clamp at the apex and tighten it with a screwdriver. It will firmly join the PVC jointer and the embedded pipe with rebar inside. Take another hose clamp of size one inch, lose it with a screwdriver, and drive it through the PVC jointer. One side of your arch base is ready.
You have done it perfectly.
6. Prepare the Second Base Hole
Repeat the same procedure with the other hole and prepare the second base foot of your arch. You can use cement instead of mud to strengthen your arch base. As you have hammered the rebar deep-six inches, it won’t let your arch fly with high winds. You have completed the first phase of paving the base for your arch.
In the next stage, you will fix the arch on this base. Now you have to decide the height of your arch to take PVC pipe accordingly.

7. Decide the Height of the Arch
If you want an arch of 6 inches high, you should take two one-inch PVC pipes of 8 feet in length. Then, join the two lengths of 8 feet PVC pipes with a jointer. Apply some glue for a secure joint to make these pieces one unit 16 inches in length.
8. Fix the Arch in the Base
Now Put one end of this PVC length into the jointer of the first base. Fix properly and tighten the screw for a firm grip on the hose clamp. Put the other end of the length into the second base jointer and tighten the screw with a screwdriver to fix the hose clamp firmly.
When connected with both bases, the 18 inches of PVC pipe will give you a height of approximately 6 feet. Viola! A gorgeous garden arch is already ready, six feet wide and six feet high.
The rebar dug six inches deep has made it strong enough that high winds or storms cannot blow off your arch. It is now ready to give service to your vining plants.
You can remove it easily or move it to other plant beds during the season.
Using Materials Other Than PVC Pipes
Aside from PVC pipes, metal and wood are common materials for garden arches. Wood is heavy and bulky, and it may attract unwanted pests to your garden. It is also prone to rotting when exposed to the elements for an extended period of time.
So, if you want it to last, you should coat it with varnish or another coating on a regular basis. Meanwhile, metal is less bulky than wood but heavier. It is also prone to rust when exposed to the elements for an extended period of time.
PVC pipe, on the other hand, is lightweight and slightly flexible, making it an obvious choice for use in the garden. Because PVC pipe is so durable, you’ll spend less time maintaining it, allowing you to spend more time enjoying your garden.
In beautifying your garden arch made of PVC pipes, you’ll need something to attach your plants to if you want to grow plants on your garden arch. Attaching outdoor decorations to a PVC pipe garden arch is a quick and easy way to spruce it up. Connecting your arches is a great way to reuse materials from previous projects.
Summing Up
As you see, the garden arch construction is pretty straightforward. Following the above simple steps carefully allows you to create your arch without any prior expertise. Here you can show your creativity to beautify your garden arch.
You can add vertical strings for more accommodation to plants. You can add another arch parallel to this one for your garden entry. Keeping the other arch slightly bigger will give an inclined look to enhance your garden entrance’s beauty.
You can attach both arches with PVC pipe pieces to give a 3D look to your arch.
The horizon is limitless; it’s your creativity that how far you can go!